I.am.so.excited.
Great classes, great friends, great food, great cause. Can't beat it.
Oh, and did I mention it's in Oceanside. CA? :)
What is Charity Wings?
Charity wings is a volunteer run organization that serves as a resource for crafters and artists that want to fund raise for their favorite causes. Their mission is to raise money and awareness for noble causes through unique creativity based events and online fundraisers.
Charity Wings has grown each year from two events the first year (2006) to hosting and or sponsoring 37 events, raffles and silent auctions last year that benefit 27 different charities.
At last update:
Charity Wings a.k.a. Scrapbook Royalty has raised over $347,665.41 for noble causes.
What is Seaside Soiree?
Seaside Soiree is a fundraising event designed to cover the operating costs of Charity Wings. Through events like Seaside Soiree, Charity Wings can often donate 100% of proceeds raised to the causes they are intended. And that's why I'm such a big fan.
And now... without further delay...
Here is my contribution for the Saturday Night Silent Auction:
Not me.... just the necklace... or shall I say Cam-lace.

This necklace is the first of it's kind, handmade, stamped and sculpted leather made by your's truely. The pictures don't do justice... It's honestly GORGEOUS.
Here's a little about how I made it:


Stamp

Paint

Paint....

Seal

Next, I made pansies out of a couple leather apple die cuts.

Trim the stem off, use a daisy stamp to form the center. The rest I formed using hand tools and my fingers.


And so on and so forth....

Did I mention I found the best deal on leather buying a large bag of assorted leather die cuts. Who knew frog legs could pass as foliage?
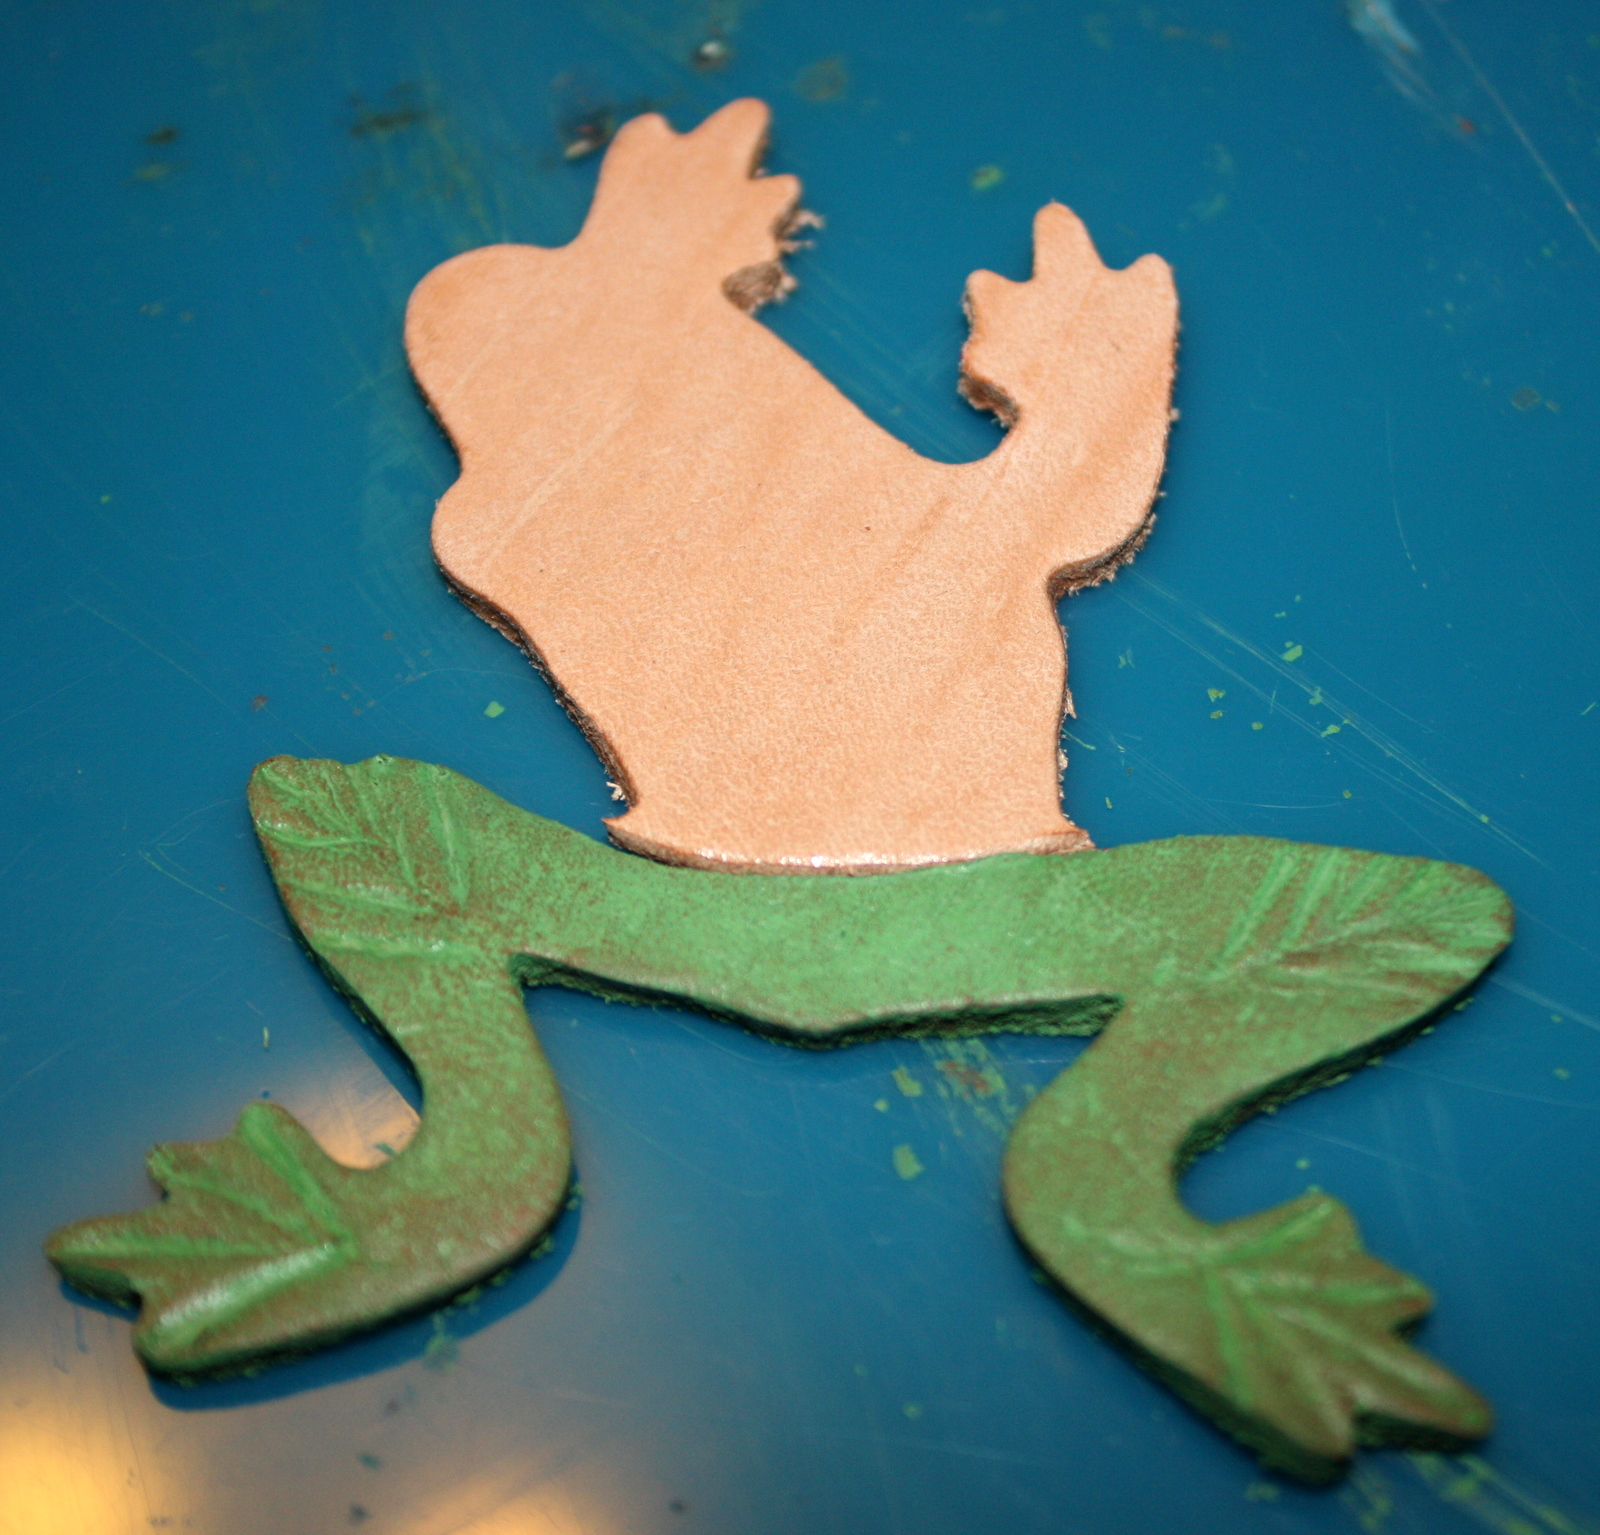
I formed the leaf veins with my fingernail, then painted and sealed.

Next, I planned out my layout. I added sparkly buttons and beads to add texture and depth.

Everything then gets mounted with adhesive or wire to a fabric backing. I added multiple strands of chain, leather and beads to create the necklace, and..... done.

I don't know if Charity Wings will accept silent auction bids from outside bidders or if you need to attend in person.. but I'd give it a shot.... And of course, I'll keep you posted.
But only because I love you...
xoxo
Cam